Vending Delegated Repositories
Vending Delegated Repositories by Gruntwork AWS Account Factory is only available to Gruntwork AWS Accelerator Enterprise customers.
Introduction
When using Gruntwork AWS Account Factory to request new accounts, you can choose to delegate management of the new accounts. Delegating management automatically generates a dedicated GitHub repository for each account, empowering developer teams to manage their infrastructure independently.
Specific permissions for IaC changes are managed via IAM roles in your infrastructure-live-access-control repository, enabling your infrastructure team to act as a central authority for permissions.
Step 1 - Update Gruntwork AWS Account Factory settings
Gruntwork AWS Account Factory options are defined in the .gruntwork/config.yml file. For a full description of all available options, refer to the configuration reference.
The following options are especially relevant for delegated repositories and should be reviewed or updated before creating new accounts:
Catalog repositories
Catalog repositories are used by developer teams when running terragrunt catalog in their delegated repositories. By default, this points to your infrastructure-catalog repository, but you can customize the list. These values will be included in the newly created repositories.
GitHub collaborators
GitHub collaborators define the list of teams granted automatic access to the new repository. This is optional, but we recommend configuring teams and permissions to streamline the account vending process.
Step 2 - Requesting the account
Open the .github/workflows/account-factory-inputs.html file in a web browser from your infrastructure-live-root repository. This page is used to generate the initial account request payload for the account factory workflow.
The account name field will be used as the suffix for the GitHub repository name.
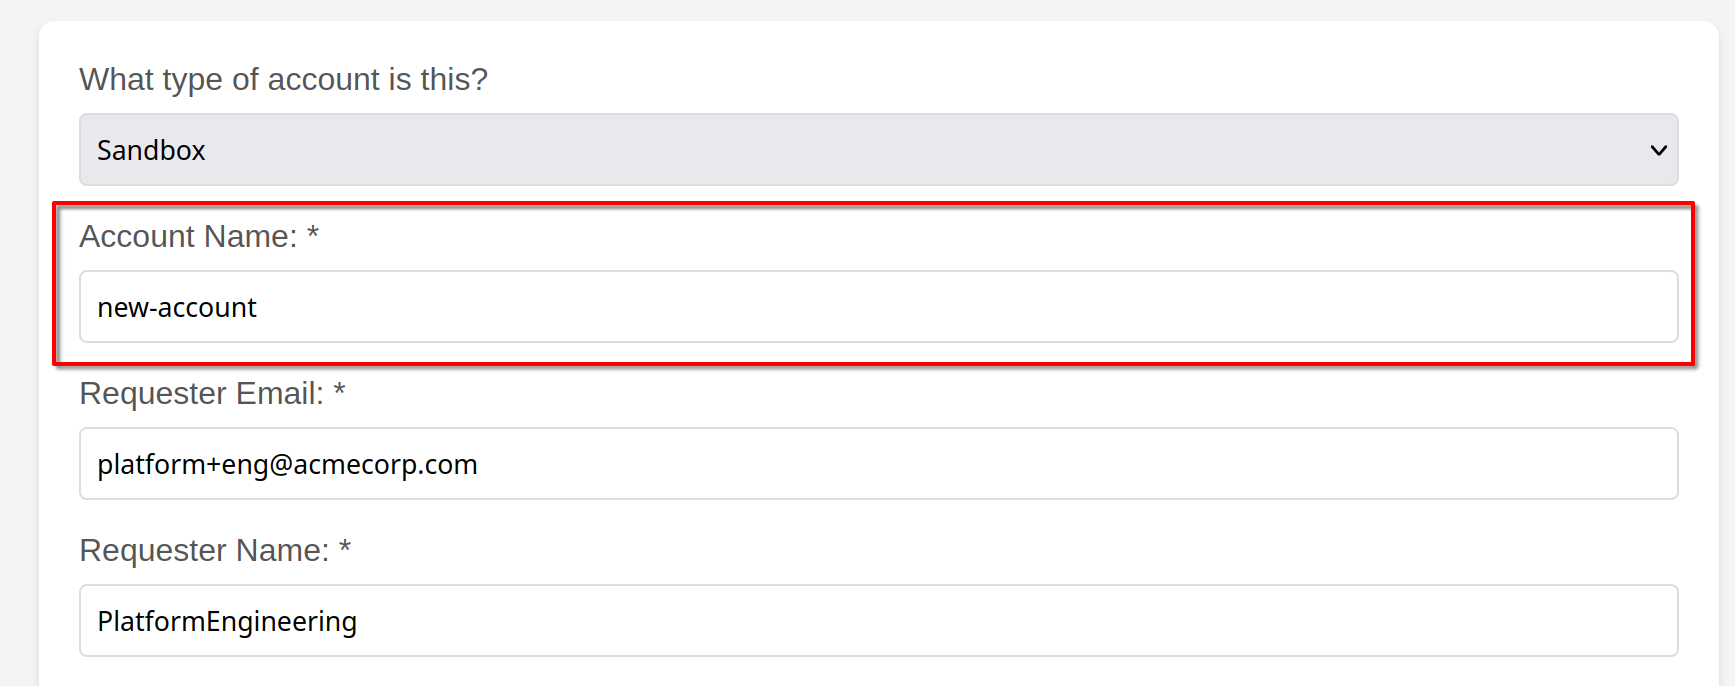 Screenshot of Account Name
In the above example, a new repository named infra-live-new-account will be created. Ensure the account name is unique to avoid conflicts with existing repositories in your GitHub organization.
Fill out the form and check the "Delegate Management of Account(s)?" option.
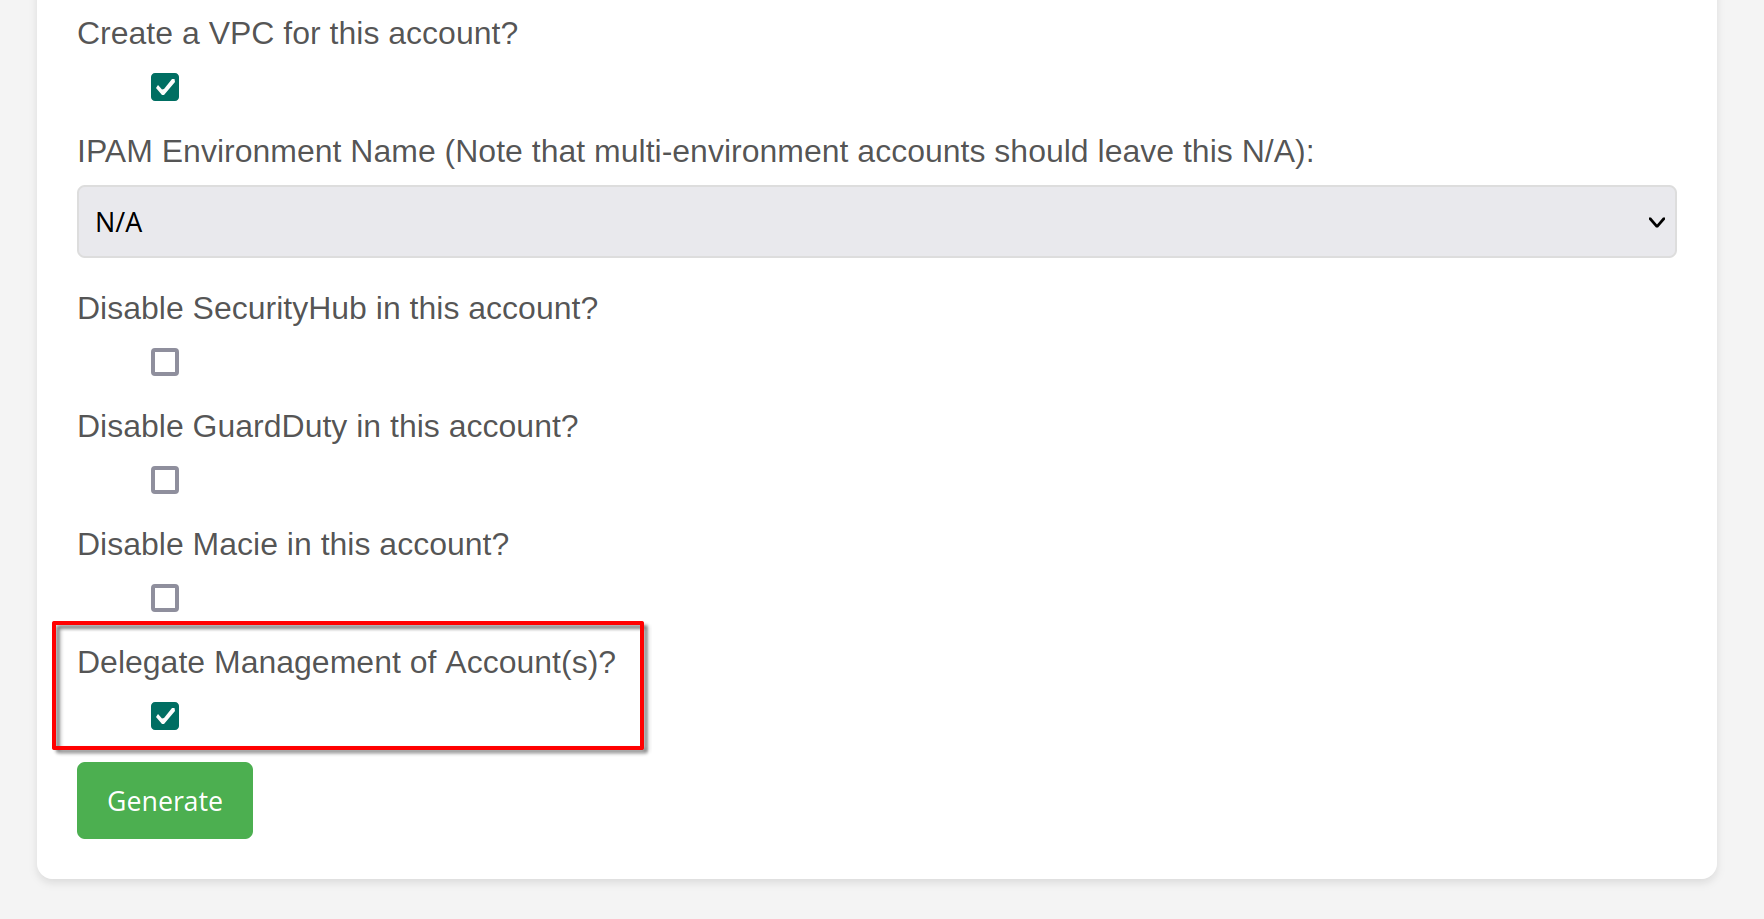 Screenshot of Delegate Management checkbox
Click "Generate" and copy the resulting JSON payload. This payload will be passed to the Account Factory workflow.
Step 3 - Run the Gruntwork AWS Account Factory workflow
Go to the Actions tab in your infrastructure-live-root repository and select the Account Factory workflow from the left-hand pane.
Click "Run Workflow," paste the JSON payload into the input field, and execute the workflow.
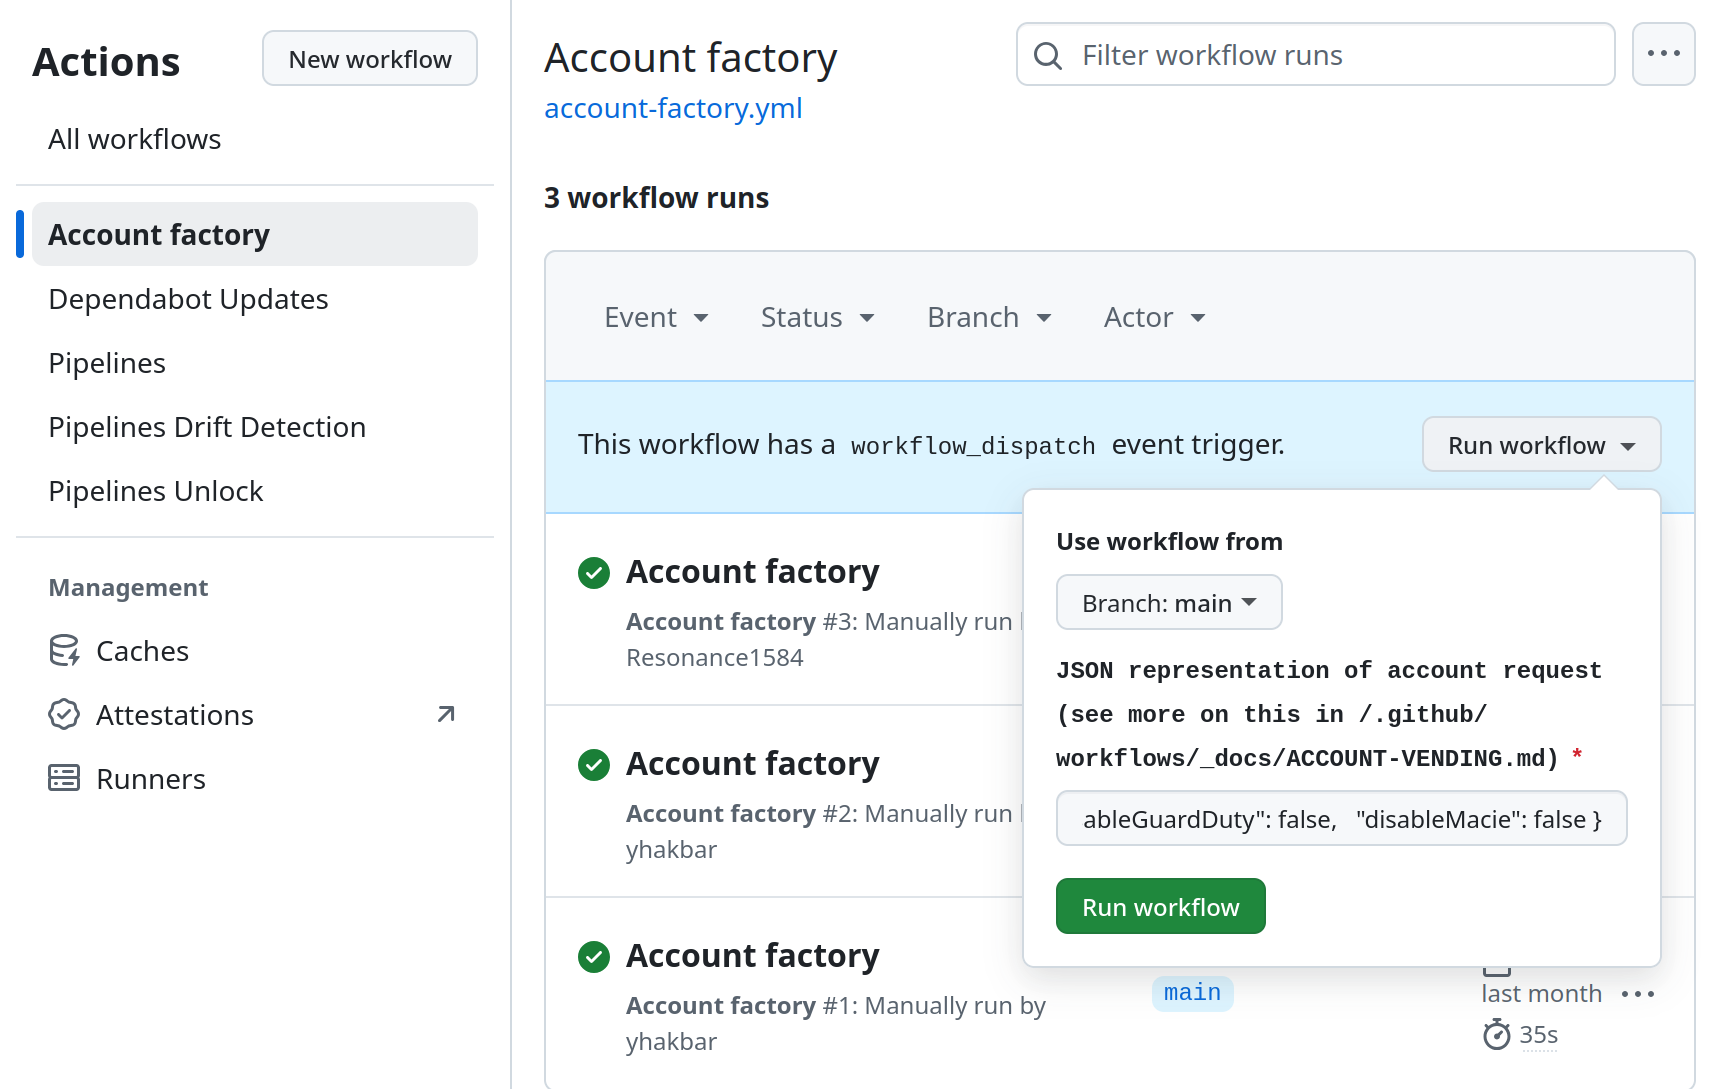 Screenshot of Gruntwork AWS Account Factory Workflow Dispatch
Step 4 - Merge the Request PR
The Gruntwork AWS Account Factory workflow will generate a new Pull Request, adding a YAML file to the _new-account-requests directory.
Review the Pull Request to ensure everything looks correct, then merge it. Once merged into the main branch, Gruntwork Pipelines will automatically run a terragrunt apply to create the new account in AWS.
Provisioning typically takes around 10 minutes, but it may vary. Once complete, a new Pull Request will be created in the infrastructure-live-root repository to baseline the account.
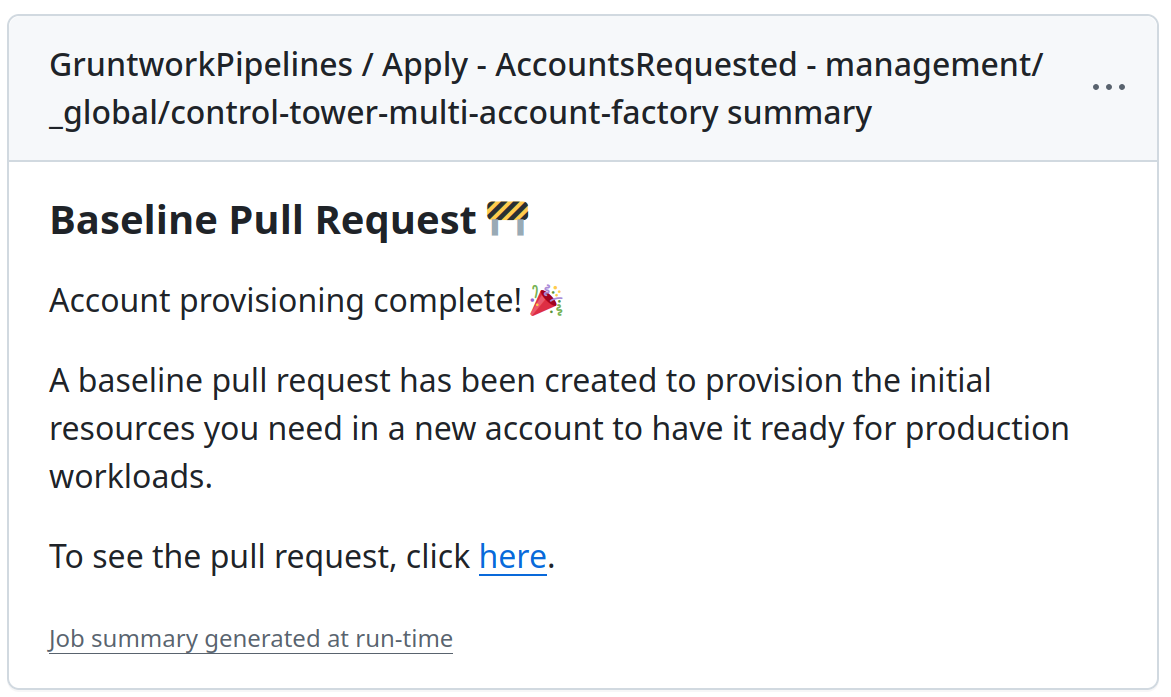 Screenshot of Apply Account Requested Workflow Summary
Step 5 - Merge the Baseline PR
The Baseline PR includes essential infrastructure for the delegated repository to manage infrastructure changes in AWS, along with account-specific infrastructure like VPCs if configured.
Inspect the Baseline PR and merge it into the main branch. This triggers:
- Terragrunt to apply core baselines (in the security, logs, and shared accounts) for the new account(s).
- Baseline application for the new account(s), creating the requested infrastructure.
- Pipelines to create the new repository for the account(s), including:
- Configuring collaborators from your settings.
- Enabling branch protection (may fail on free GitHub plans).
- Creating a Pull Request in the new repository with base IaC and Pipelines workflows.
- Creating a Pull Request in the
infrastructure-live-access-controlrepository for IAM roles.
Upon completion, the workflow run will display a summary linking to the new Pull Requests.
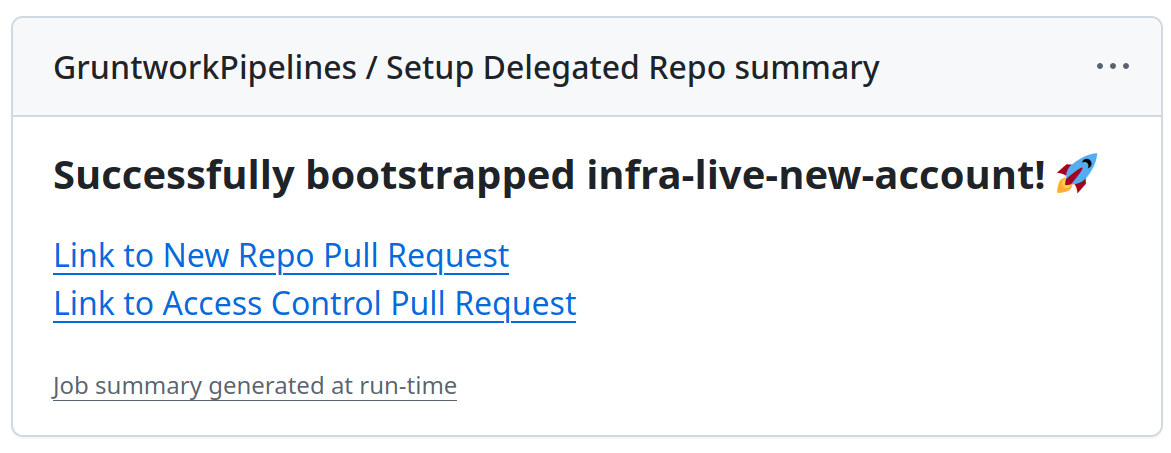 Screenshot of Create Delegated Repository Workflow Summary
Merge the Access Control PR before running workflows in the new repository.
Step 6 - Merge the Access Control PR
Review the Access Control Pull Request, which adds two new roles: delegated-pipelines-apply-role and delegated-pipelines-plan-role. These roles grant the minimum permissions required to bootstrap the new repository.
To add additional permissions, modify the iam_policy block in each role.
Managing these roles through the infrastructure-live-access-control repository ensures your platform team retains control over changes in the delegated repository.
Merge the PR and allow Pipelines to apply the Terragrunt changes, creating the roles in AWS.
Step 7 - Merge the delegated repository Bootstrap PR
Once the Access Control PR has been merged and applied, navigate to the delegated repository and review the Bootstrap PR.
This PR contains the necessary GitHub workflow files for Pipelines and Terragrunt configurations to deploy new infrastructure.
Merge the PR, and the delegated repository will be ready for use.
Step 8 - Start adding new infrastructure
At this point, you will have:
- Provisioned a new AWS account(s).
- Applied baselines for the new account(s).
- Created a new repository for managing infrastructure changes in the account(s).
- Configured new IAM roles for permissions in the delegated repository.
- Bootstrapped the repository for adding infrastructure.
You can now begin adding new infrastructure to the delegated repository.